
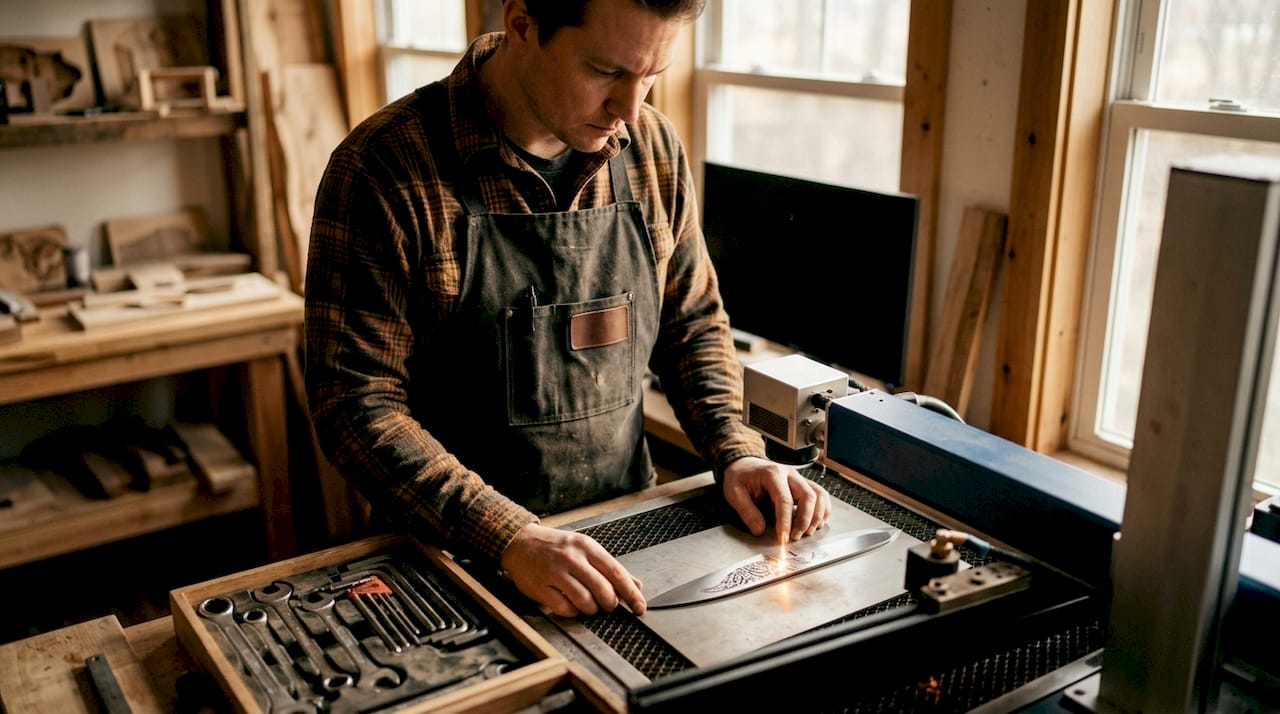
Custom laser engraving on knives is defined as the permanent etching of text, logos, or artwork directly onto a blade or handle using a focused laser beam. The process uses concentrated light to vaporize the surface material, leaving a clean, durable mark without paint or adhesives. Laser etching penetrates the surface, producing results that hold up through daily use and washing. Gettothepointllc specializes in this work, offering personalized knife engraving for collectors, gift givers, and anyone who wants a knife that means something. Whether you want a name, a date, or a custom image, understanding the full process helps you get the best result.
What tools and materials are needed for custom laser engraving on knives?
The right equipment determines the quality of every engraving. Two laser types dominate professional knife work: fiber galvo lasers and CO2 lasers.
Galvo fiber lasers precisely engrave metal blades, achieving sharp logos and text with high detail. CO2 lasers work better on wood, leather, and handle materials. For most knife blade work, a fiber laser is the correct choice.
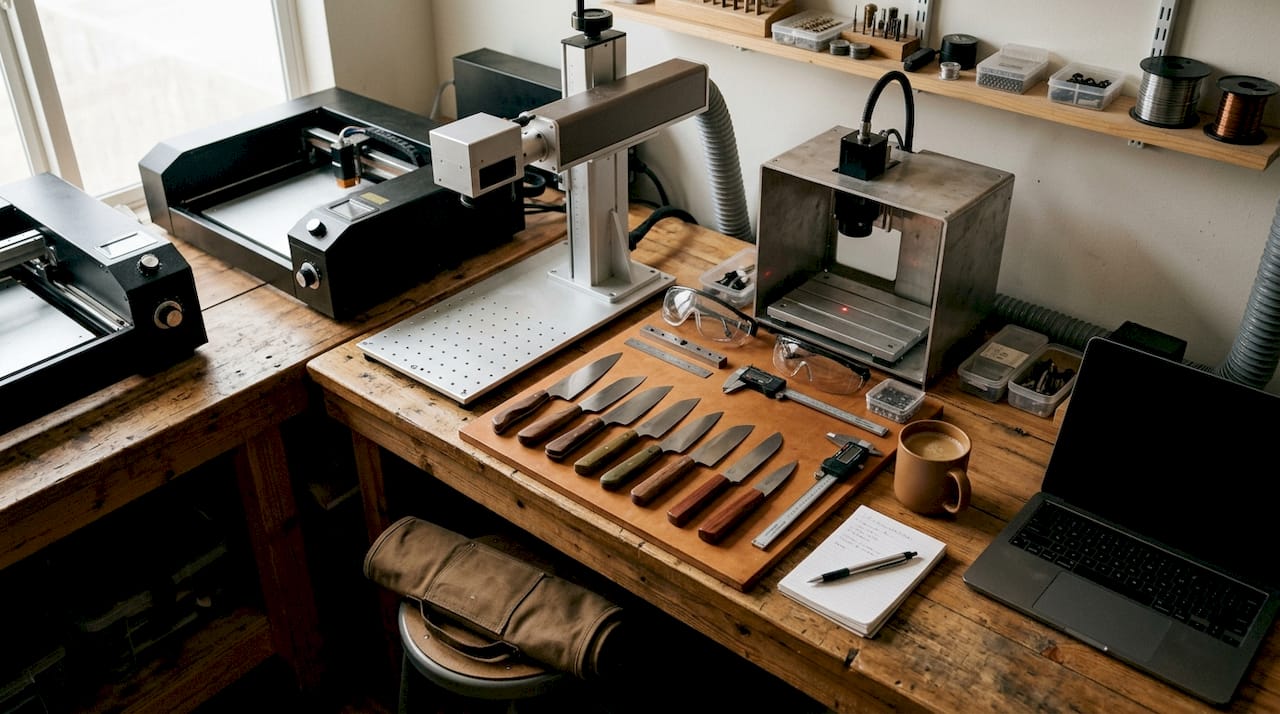
Knife material matters just as much as the machine. Stainless steel blades are the most compatible with high-precision laser engraving. They hold the mark cleanly and resist corrosion around the engraved area. Wooden handles also engrave well, producing warm contrast that looks great on display pieces or gift knives. Avoid engraving on coated or painted blades without testing first, since coatings can react unpredictably to heat.
| Tool or Material | Best Use | Key Consideration |
|---|---|---|
| Fiber galvo laser | Metal blades, stainless steel | High detail, fast speed |
| CO2 laser | Wood handles, leather sheaths | Not ideal for bare metal |
| Stainless steel blade | Primary engraving surface | Durable, clean mark retention |
| Wooden handle | Decorative or gift engraving | Warm contrast, easy to engrave |
| Rotary fixture | Curved or round handles | Keeps knife stable during engraving |
| Safety goggles | Operator protection | Required for all laser work |
Workspace safety is non-negotiable. Laser engraving produces fumes, especially on coated metals or wood. A ventilated space with a fume extractor protects both the operator and the quality of the engraving. Secure the knife firmly in a jig or rotary fixture before starting. Any movement during engraving causes misalignment and ruins the design.
Pro Tip: Choose fonts with clean, open letterforms for blade engraving. Thin serif fonts and highly detailed scripts often lose definition on metal surfaces. Bold, simple fonts like block letters or sans-serif styles hold up far better at small sizes.
How to prepare your knife and design for engraving
Preparation is where most engraving mistakes begin. A knife that is not cleaned properly will produce uneven marks. Wipe the blade and handle with isopropyl alcohol before engraving to remove oils, fingerprints, and residue. Even a thin layer of skin oil can cause the laser to skip or burn unevenly.
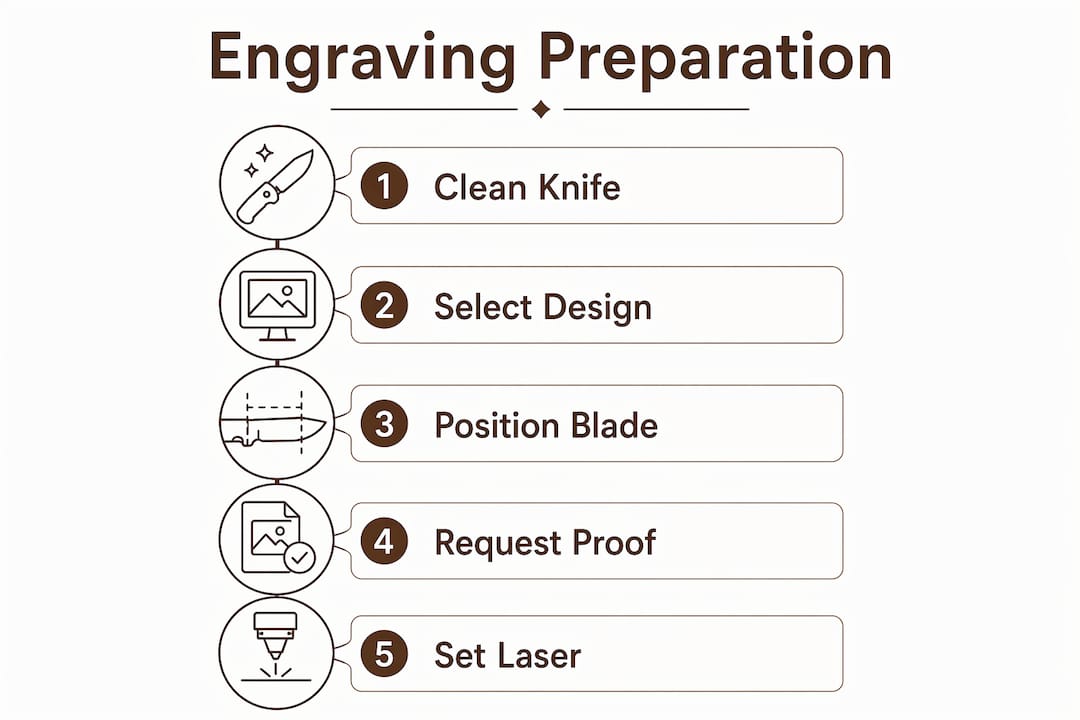
Choosing where to place the engraving is a real decision, not just a preference. The blade flat offers the most visible surface for text and logos. The handle works well for names, dates, or decorative patterns. Engraving both locations is possible, but each surface requires separate laser settings. Adjusting laser power and speed based on material and desired depth is the key variable that separates clean results from damaged ones.
Design file quality directly affects the final engraving. Use high-resolution files, ideally vector formats like SVG or AI, for logos and artwork. For text, any standard font file works, but confirm the engraver’s accepted formats before submitting. Black and white images with strong contrast translate best to metal surfaces. Fine details smaller than 1mm often disappear entirely on a blade.
Design do’s and don’ts:
- Do use vector files for logos and complex artwork
- Do test your design on a scrap piece of the same material first
- Do confirm the engraving area dimensions before finalizing layout
- Don’t use gradients or halftones on metal surfaces
- Don’t crowd text too close to the blade edge or spine
- Don’t skip the proof review before final engraving begins
Pro Tip: Always request a digital proof or visual preview before the engraver runs the machine. Professional engravers provide proofs before final approval, and reviewing one catches sizing errors, font issues, and placement problems that are impossible to fix after the fact.
Step-by-step process for safe and effective knife engraving
A clean engraving process follows a fixed sequence. Skipping steps creates defects that cannot be undone on a finished blade.
- Clean the knife. Remove all oils and debris with isopropyl alcohol. Let it dry completely before placing it in the machine.
- Secure the knife. Use a jig, clamp, or rotary fixture to hold the blade flat and still. Any movement during engraving causes line drift.
- Load and position the design. Import the file into the laser software. Align the design to the exact engraving area using the machine’s preview function.
- Set laser parameters. Laser power and speed settings must match the blade material and desired engraving depth. Start with lower power on a test piece before running the final knife.
- Run a test pass. Use a piece of masking tape over the blade and run the laser at low power to verify alignment and sizing before committing to the final surface.
- Execute the engraving. Run the full job. Do not open the enclosure or move the knife until the machine completes the pass.
- Inspect and clean. Wipe away residue with a soft cloth. Inspect under good lighting for missed areas, burn marks, or misalignment.
Laser settings vary significantly by material and depth goal. The table below shows how parameter changes affect the result.
| Engraving Depth | Laser Power | Speed | Visual Effect |
|---|---|---|---|
| Surface mark | Low (20–30%) | Fast | Light gray tone, subtle |
| Standard depth | Medium (50–60%) | Moderate | Clear black mark, readable |
| Deep etch | High (80–90%) | Slow | Bold, tactile, high contrast |
| Wood handle | Medium (40–55%) | Moderate | Warm brown to black contrast |
Common problems and fixes:
- Burn marks around the design: Lower laser power or increase speed. Clean the surface again before re-running.
- Incomplete engraving: Increase power slightly or reduce speed. Check that the knife did not shift during the job.
- Misaligned design: Re-secure the knife and re-run the alignment test before engraving again.
- Faded result on stainless steel: Increase contrast in the design file and run a second pass at the same settings.
How to present and care for your custom engraved knife
Presentation shapes how a gift is received. A beautifully engraved knife in a plain plastic bag lands differently than the same knife in a fitted rosewood or black gift box. Rosewood and black gift boxes enhance the perceived value and memorability of engraved knives for weddings, anniversaries, and holidays. The box signals that the gift was chosen with care, not grabbed off a shelf.
Long-term care for an engraved blade follows the same rules as any quality knife, with a few extra considerations. The engraved area is slightly more porous than the surrounding surface, which means moisture can collect there if the blade is not dried properly. Wipe the blade dry after every wash and apply a thin coat of food-safe mineral oil or blade balm to protect both the steel and the engraving.
Maintenance tips for engraved knives:
- Dry the blade immediately after washing. Never soak an engraved knife.
- Apply food-safe mineral oil or blade balm to the engraved area every few months.
- Store the knife in a dry location, away from humidity.
- Avoid abrasive scrubbing pads near the engraved surface.
- Do not run engraved knives through a dishwasher.
“Professional presentation using tailored, high-quality boxes significantly enhances the gifting experience, especially for special occasions such as weddings or anniversaries. The packaging communicates the same level of care as the engraving itself.”
One practical note on value: engraving may affect resale value on collector knives, since personalization ties the piece to a specific person. For gifts and personal collections, that sentimental connection is the entire point. For investment-grade knives you plan to sell, keep engraving to the handle rather than the blade.
Key Takeaways
Custom laser engraving on knives produces permanent, high-quality results when you match the right laser type to the blade material, prepare the surface properly, and dial in your settings before running the final piece.
| Point | Details |
|---|---|
| Fiber lasers for metal blades | Galvo fiber lasers deliver the sharpest, most detailed marks on stainless steel. |
| Surface prep is non-negotiable | Clean the blade with isopropyl alcohol before every engraving session to prevent defects. |
| Request a proof first | Always review a digital preview before the laser runs to catch sizing and placement errors. |
| Settings determine depth and contrast | Adjust laser power and speed to control engraving depth and the final visual effect. |
| Presentation multiplies gift value | A fitted gift box elevates an engraved knife from a practical item to a memorable keepsake. |
What I’ve learned from years of engraving knives
The biggest mistake I see from people new to knife engraving is choosing a design that looks great on screen but falls apart on metal. Thin lines, intricate scripts, and tiny details all compress when etched onto a blade. What reads as elegant on a monitor becomes a blurry smudge at 2 inches wide. I always tell people: if you can’t read it clearly at thumbnail size, it will not engrave cleanly.
The second thing I’ve noticed is that people underestimate the handle. Most collectors focus entirely on the blade, but a name or date engraved on a wooden handle often carries more emotional weight. The texture of the wood, the warmth of the contrast, and the placement near the grip make it feel personal in a way that a blade mark sometimes does not.
There is also a real conversation to have about resale value. If you are engraving a knife from a limited production run or a high-value maker, think carefully before putting text on the blade flat. The engraving is permanent, and it narrows the future audience for that piece. For gifts and personal use, that trade-off is worth it every time. For investment pieces, I recommend the handle or a discreet location.
My honest recommendation: start with a simpler design than you think you need. A clean name, a short date, or a bold monogram will outlast a complex scene every time. Craftsmanship shows in restraint, not complexity.
— William
Gettothepointllc’s engraving services for knives and collectors
Gettothepointllc offers professional laser engraving on knives with options for both lettering and custom images. Every order includes a design review before the laser runs, so you know exactly what you are getting before it is permanent.
You can order lettering engraving or image and logo engraving directly through the site. If you need a knife to engrave, browse the full knife collection for options that work well for gifts and personal collections. Gettothepointllc also offers knife sharpening, so your engraved blade stays as sharp as it looks. Reach out with your design idea and we will walk you through the options.
FAQ
What is custom laser engraving on a knife?
Custom laser engraving on a knife is the permanent etching of text, logos, or artwork onto the blade or handle using a focused laser beam. The laser vaporizes the surface material to leave a clean, durable mark without paint or adhesives.
What knives are best for laser engraving?
Stainless steel blades and wooden handles are the most compatible materials for laser engraving. Stainless steel holds a clean, permanent mark, while wood produces warm, high-contrast results ideal for display and gift pieces.
Does engraving a knife hurt its value?
Engraving can reduce resale value on collector or investment-grade knives, since personalization ties the piece to a specific owner. For gifts and personal collections, the sentimental and aesthetic value gained far outweighs any resale consideration.
What file format should I use for a custom knife design?
Vector formats like SVG or AI work best for logos and complex artwork. High-contrast black and white images also transfer well. Avoid gradients, halftones, and very fine details smaller than 1mm, since these lose definition on metal surfaces.
How do I care for an engraved knife long-term?
Dry the blade immediately after washing, apply food-safe mineral oil or blade balm to the engraved area every few months, and store the knife in a dry location. Never run an engraved knife through a dishwasher, and avoid abrasive scrubbing near the engraved surface.
Leave a Reply